User Guide for TMProxy with AdsPower
What is AdsPower?
AdsPower is an anti-detect browser designed to help users manage multiple online accounts securely and efficiently. This tool allows you to create and manage separate browser profiles, equivalent to using multiple different computers.
Key Features of AdsPower
- Anti-detect browser: Uses technology to hide browser fingerprints and avoid tracking, helping you manage multiple accounts without being detected as the same person.
- Multi-account management: Allows you to simultaneously manage multiple accounts on social media platforms, e-commerce sites, email, and more.
- Independent browser environment: Creates separate browser environments with different browser fingerprints and IP addresses for each account.
- Scientific organization: Helps you categorize and manage accounts by group, project, or purpose, making it easy to find and access.
- Security: Provides security features such as two-factor authentication (2FA), activity logs, and user permissions for secure teamwork.
User Guide for TMProxy with AdsPower with Images
Download and Installation Guide
Go to Google and type “Download AdsPower” or visit the link https://www.adspower.com/vn/download
After downloading, run the installation file and follow the simple steps like installing other software. Create an account or you can log in directly with your Google account.
Note!
Free accounts can only use a maximum of 5 profiles
User Guide for TMProxy with AdsPower
After logging in, you will see the interface as below.
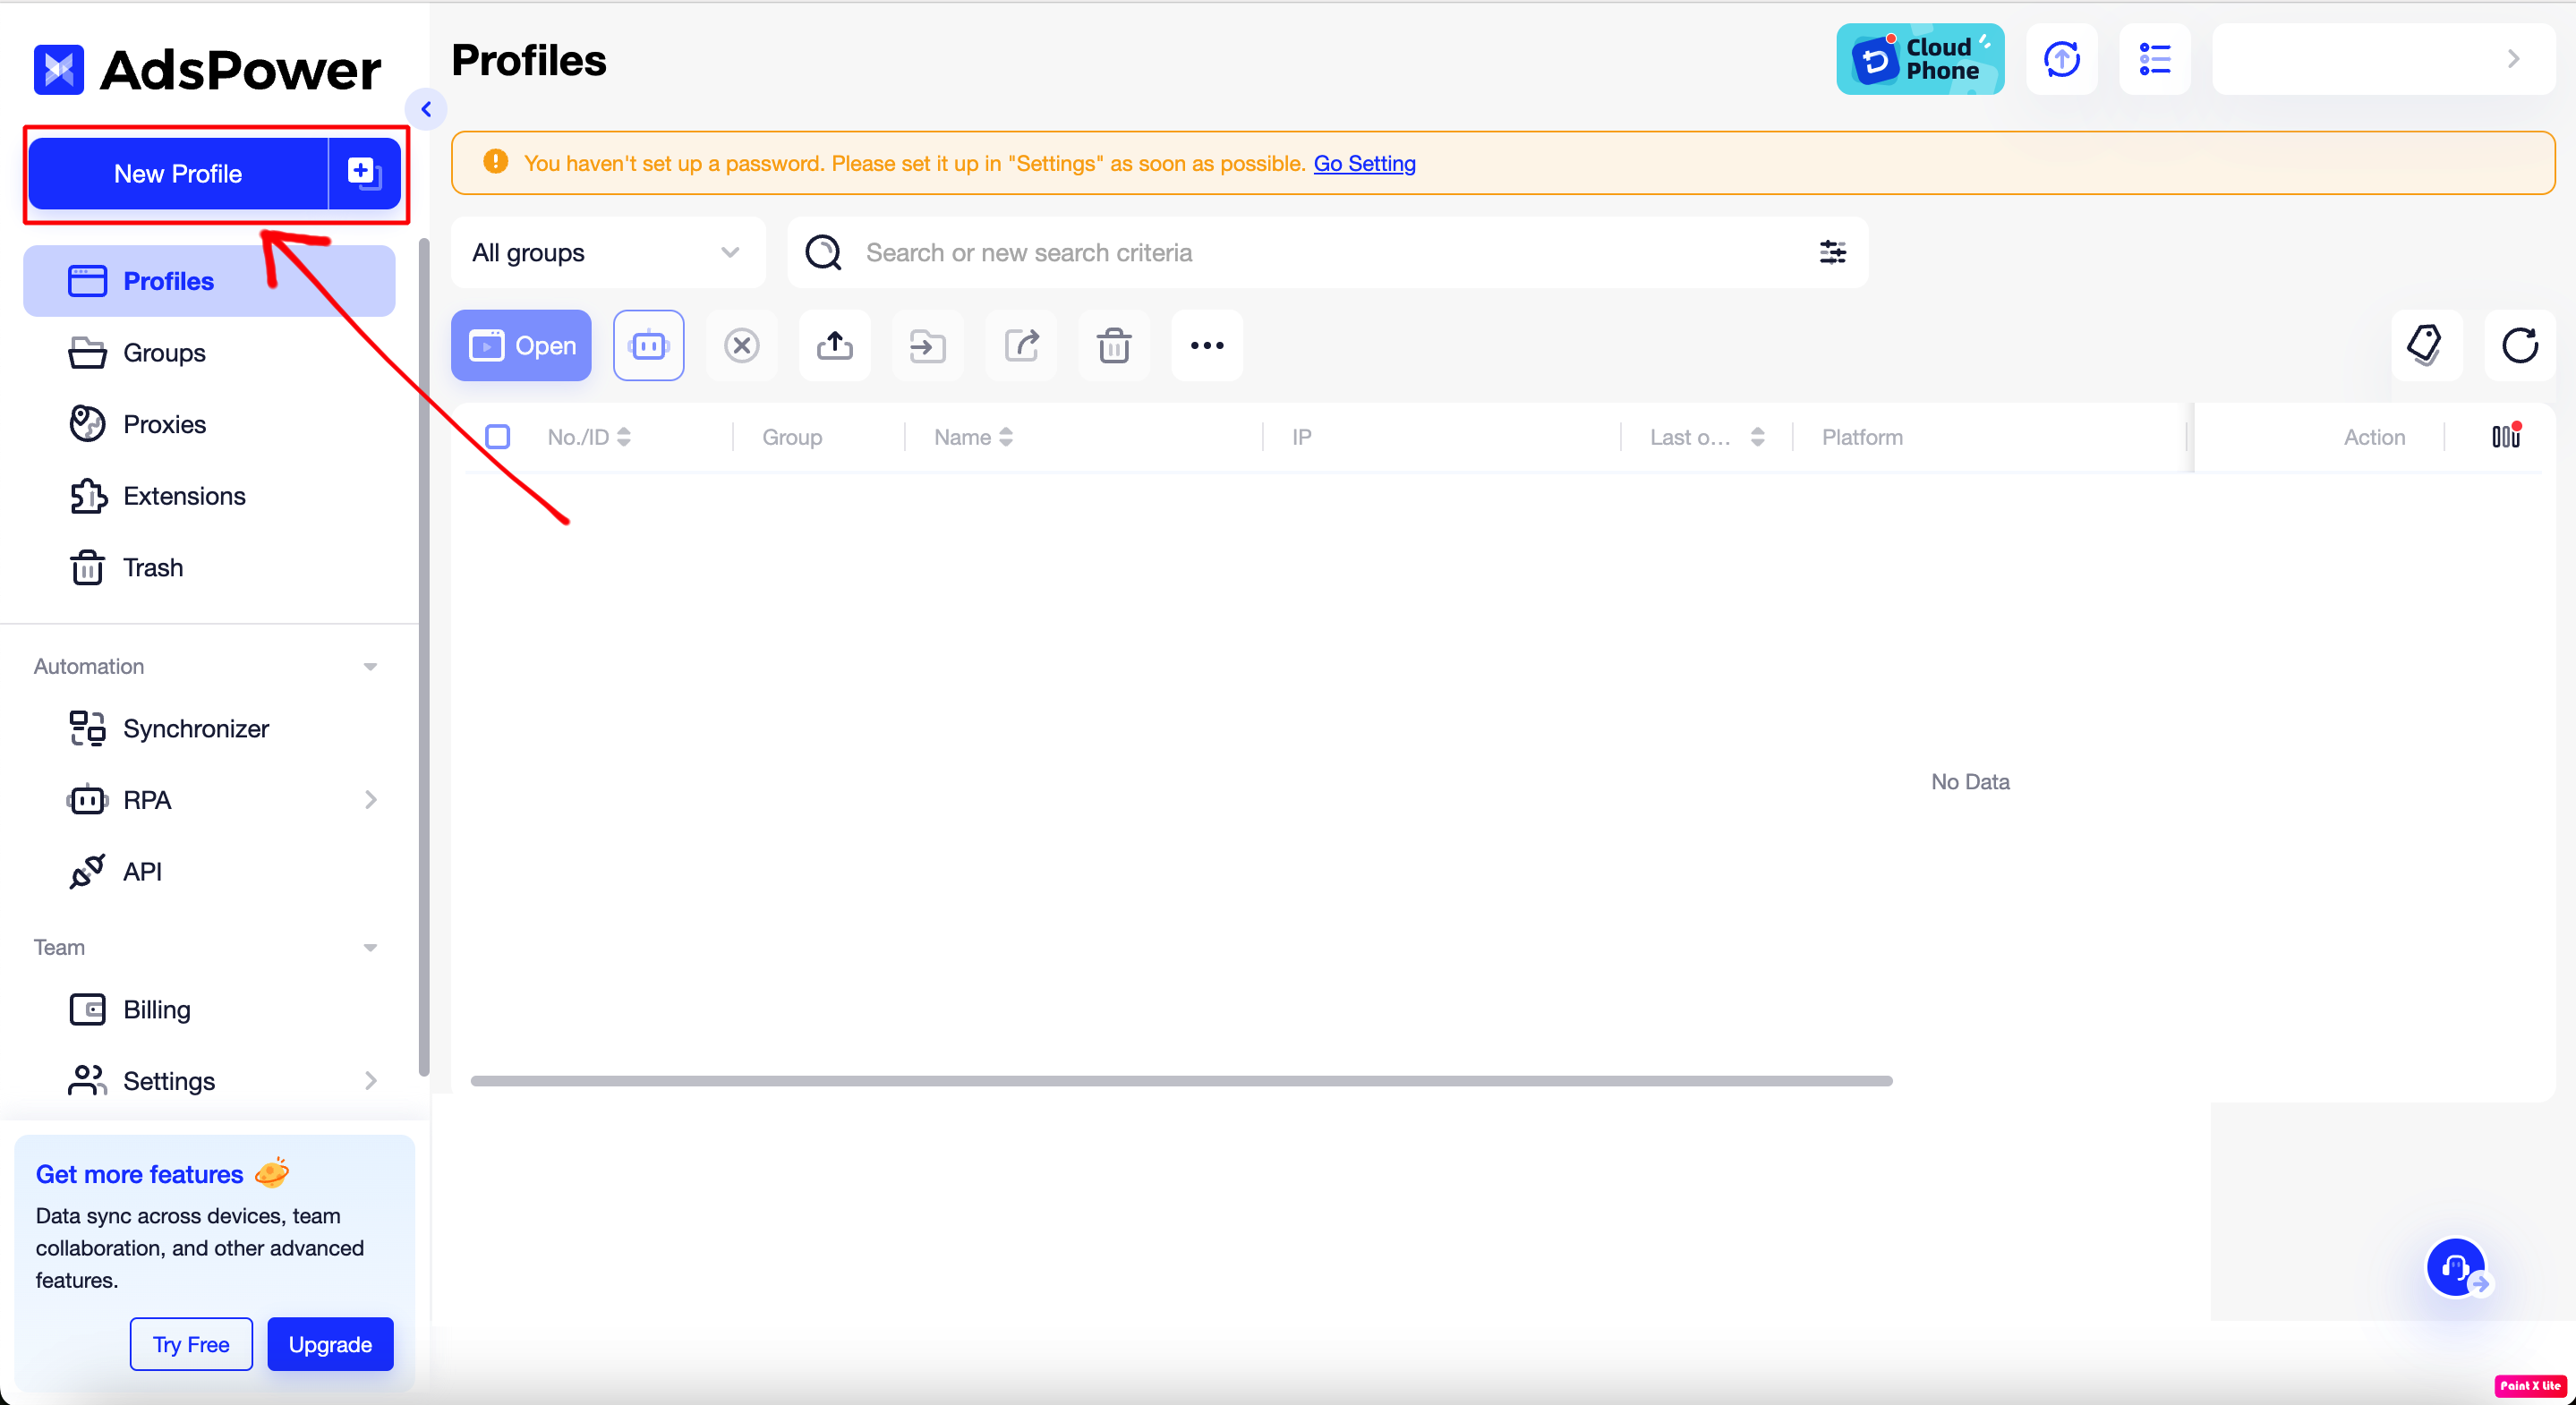 Click on the “New Profile” button to add a new profile. Then you will get the following interface:
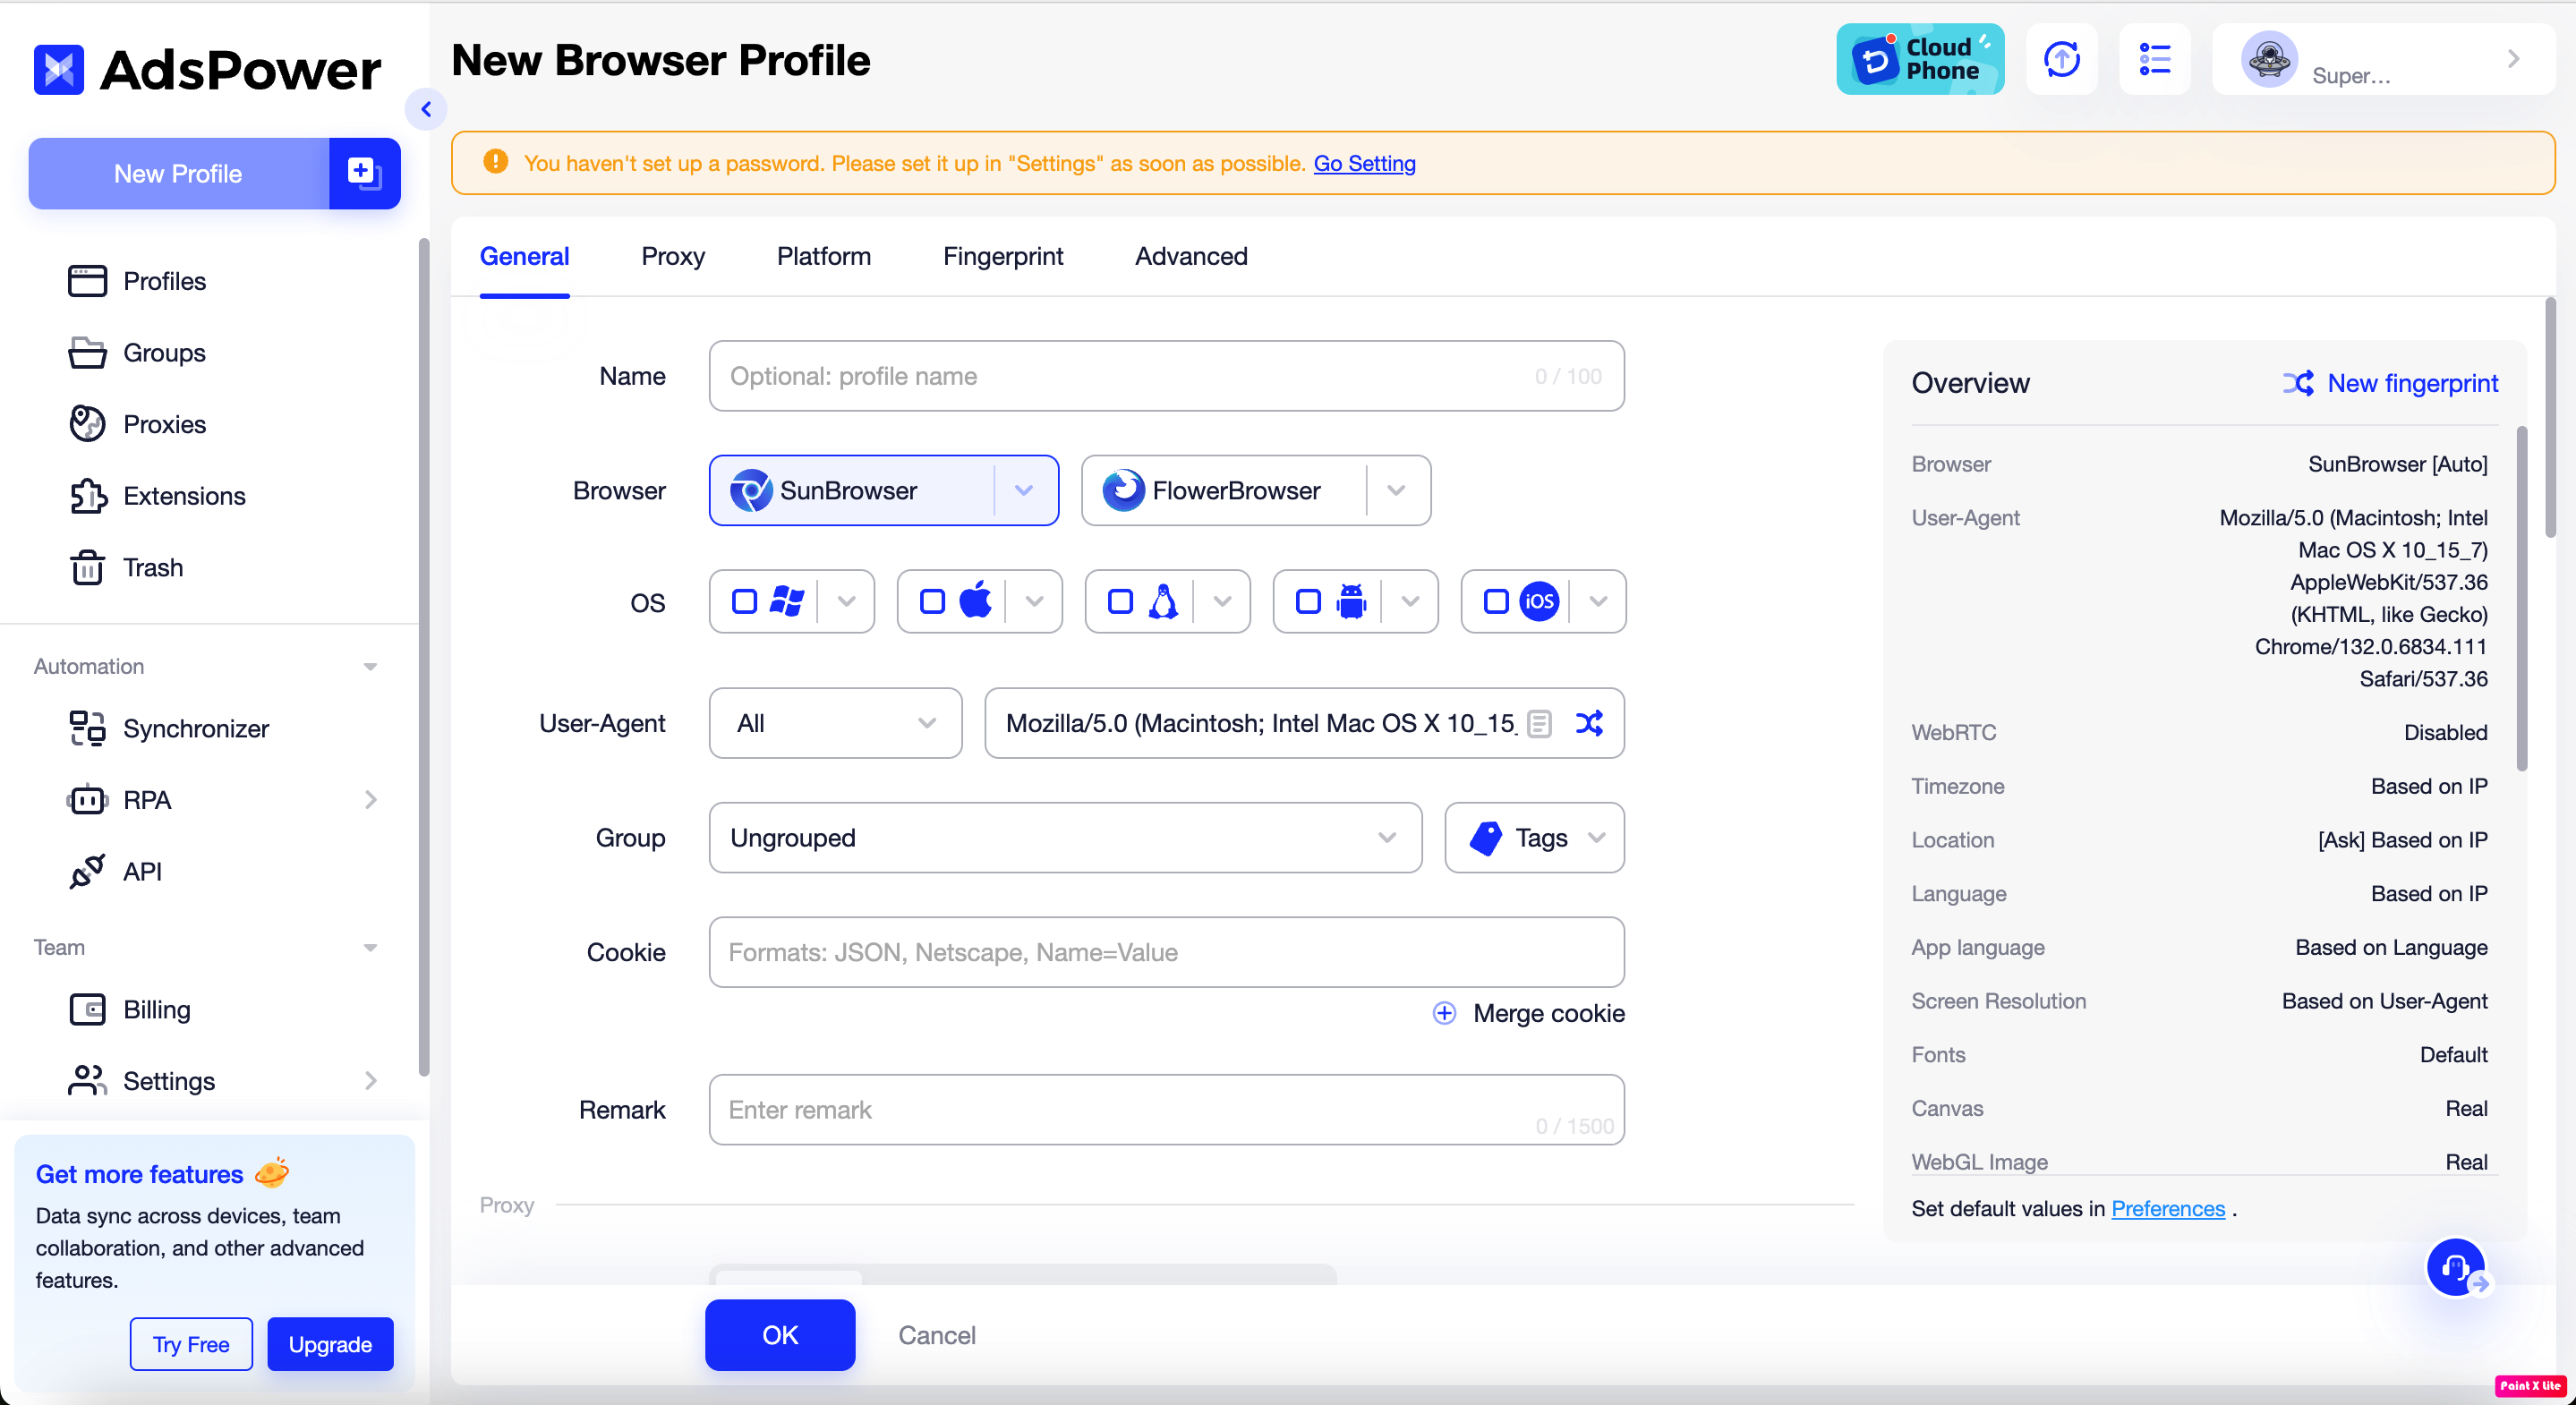 Set up the configuration according to your needs. Then click on the “Proxy” section.
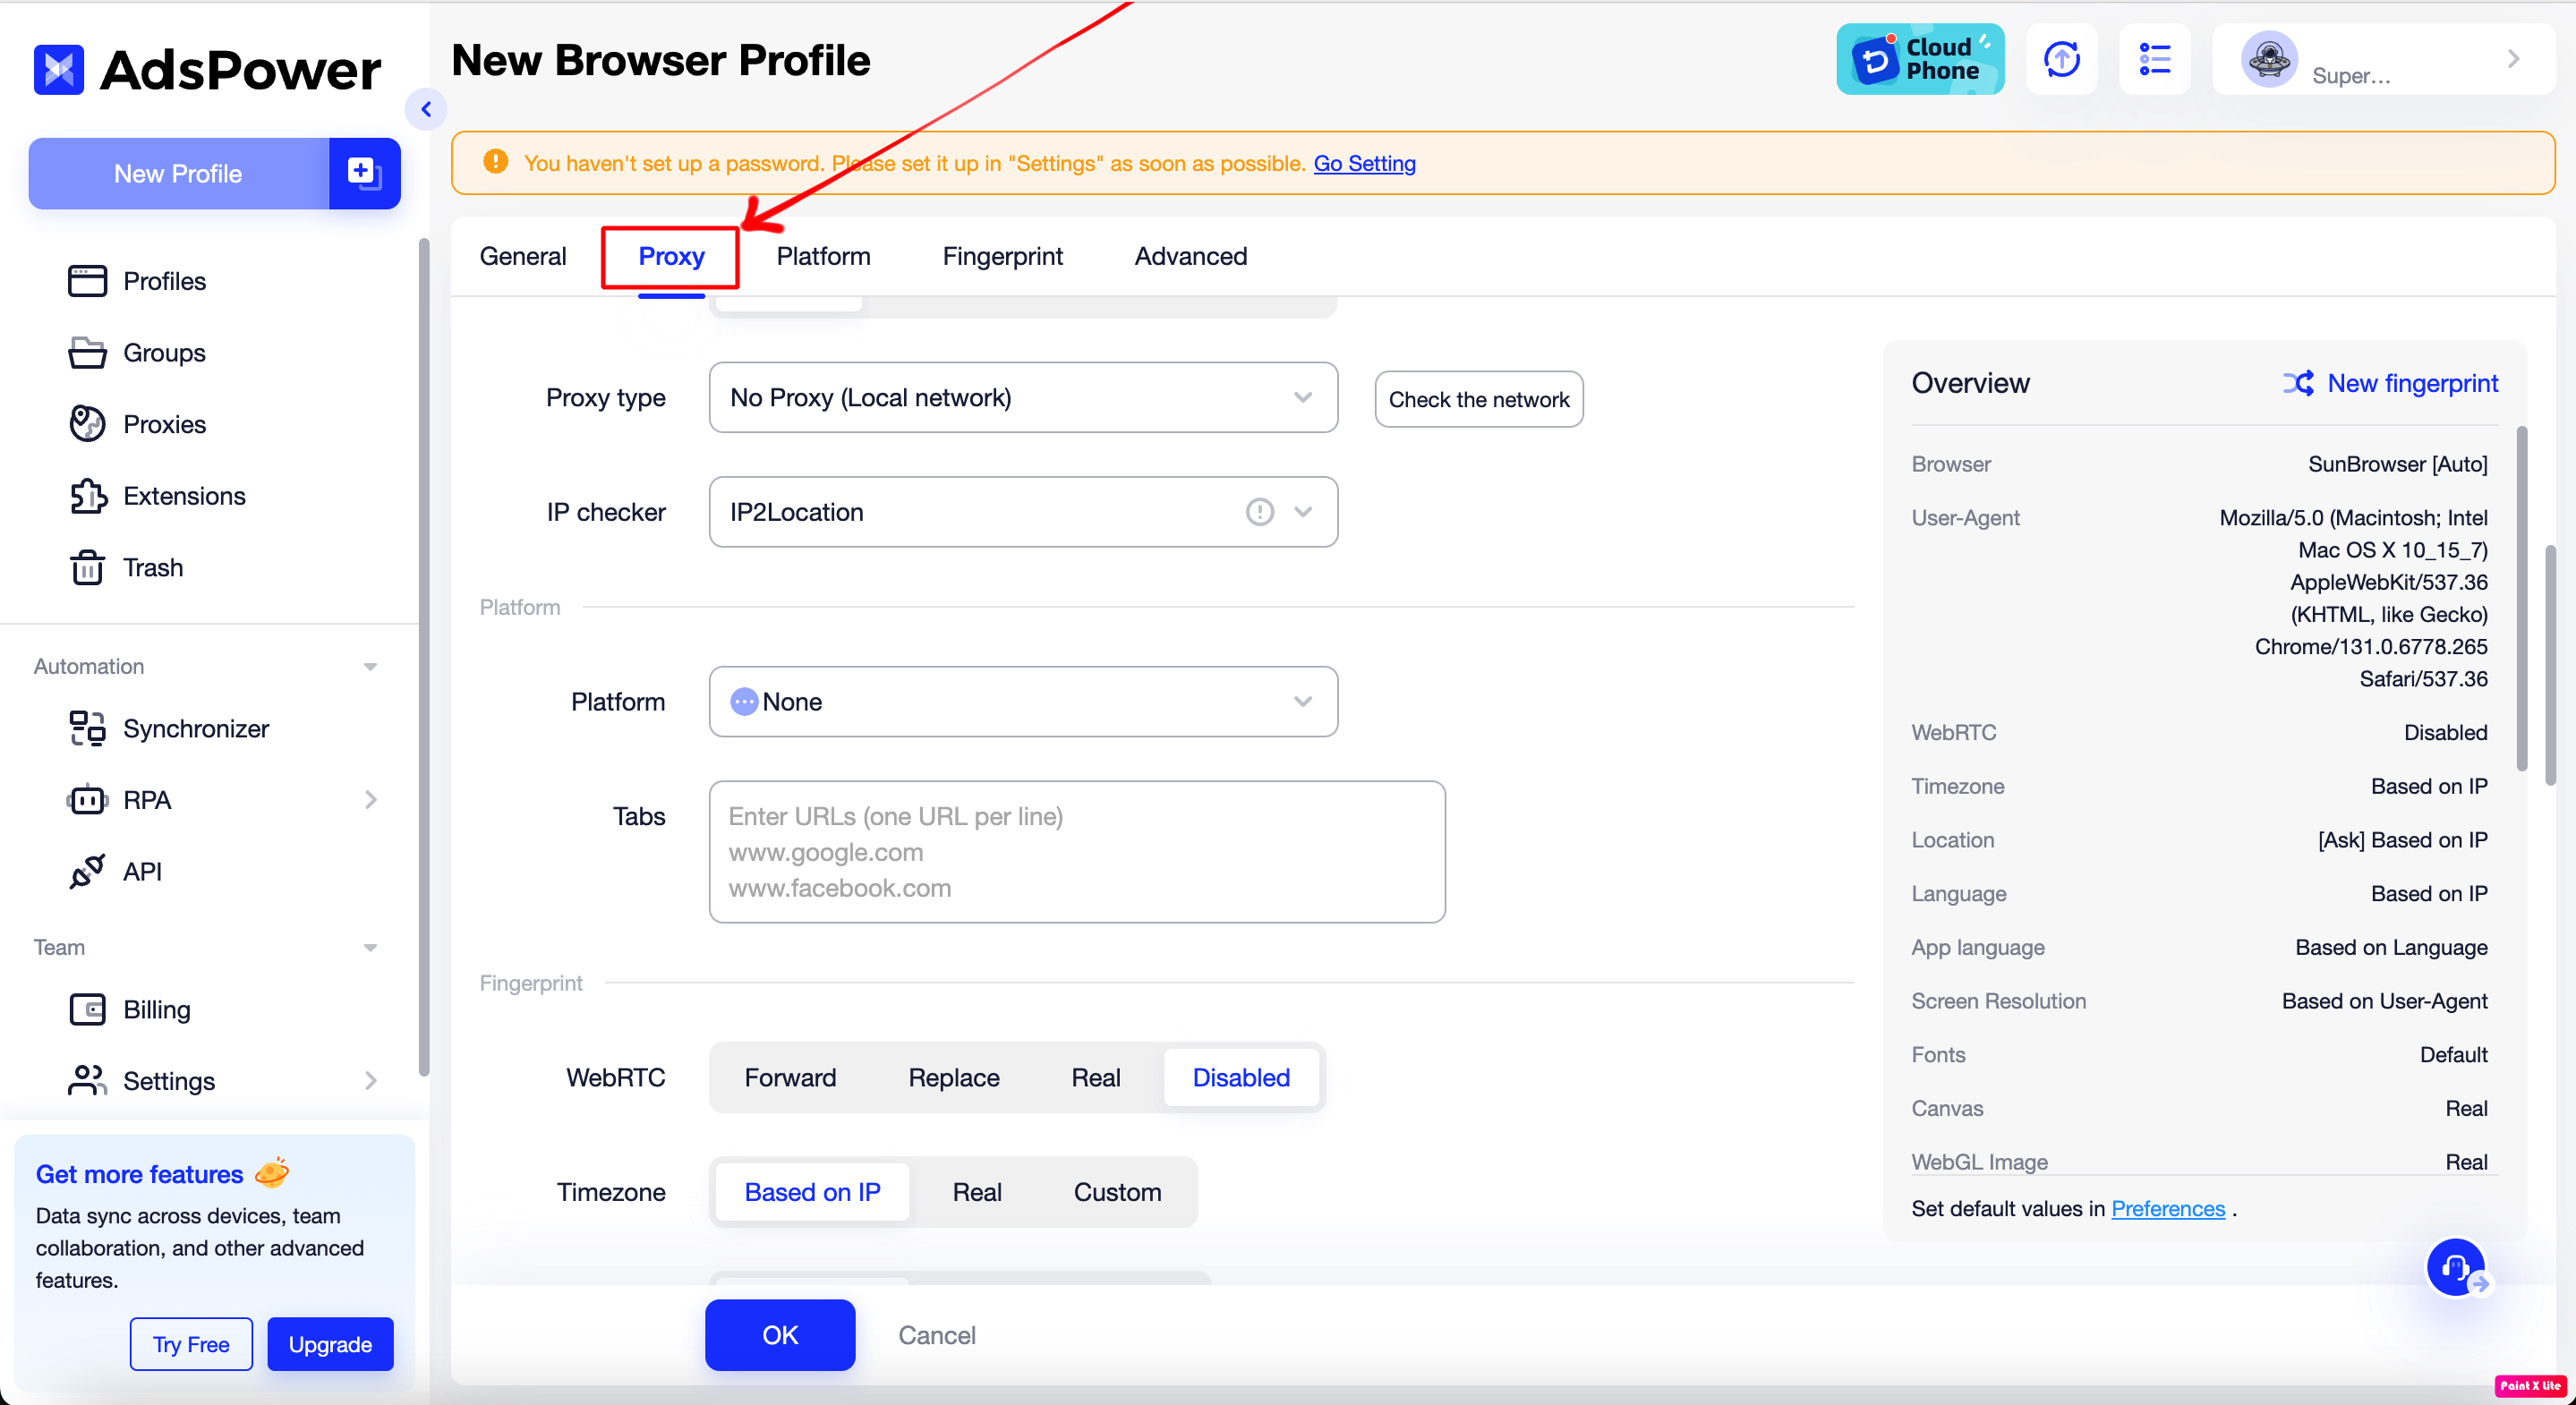
- Click on the “Proxy type” section and select Socks5 or HTTP.
- Visit TMproxy to get the proxy configuration.
- Paste the proxy information you just obtained into the “Host:Port” section.
- Click on “Check Proxy” to check the proxy connection.

- Continue setting up the configurations below according to your needs.
- Then click “OK” to complete.
- Click “Open” to run the configuration you just set up and enjoy the results.
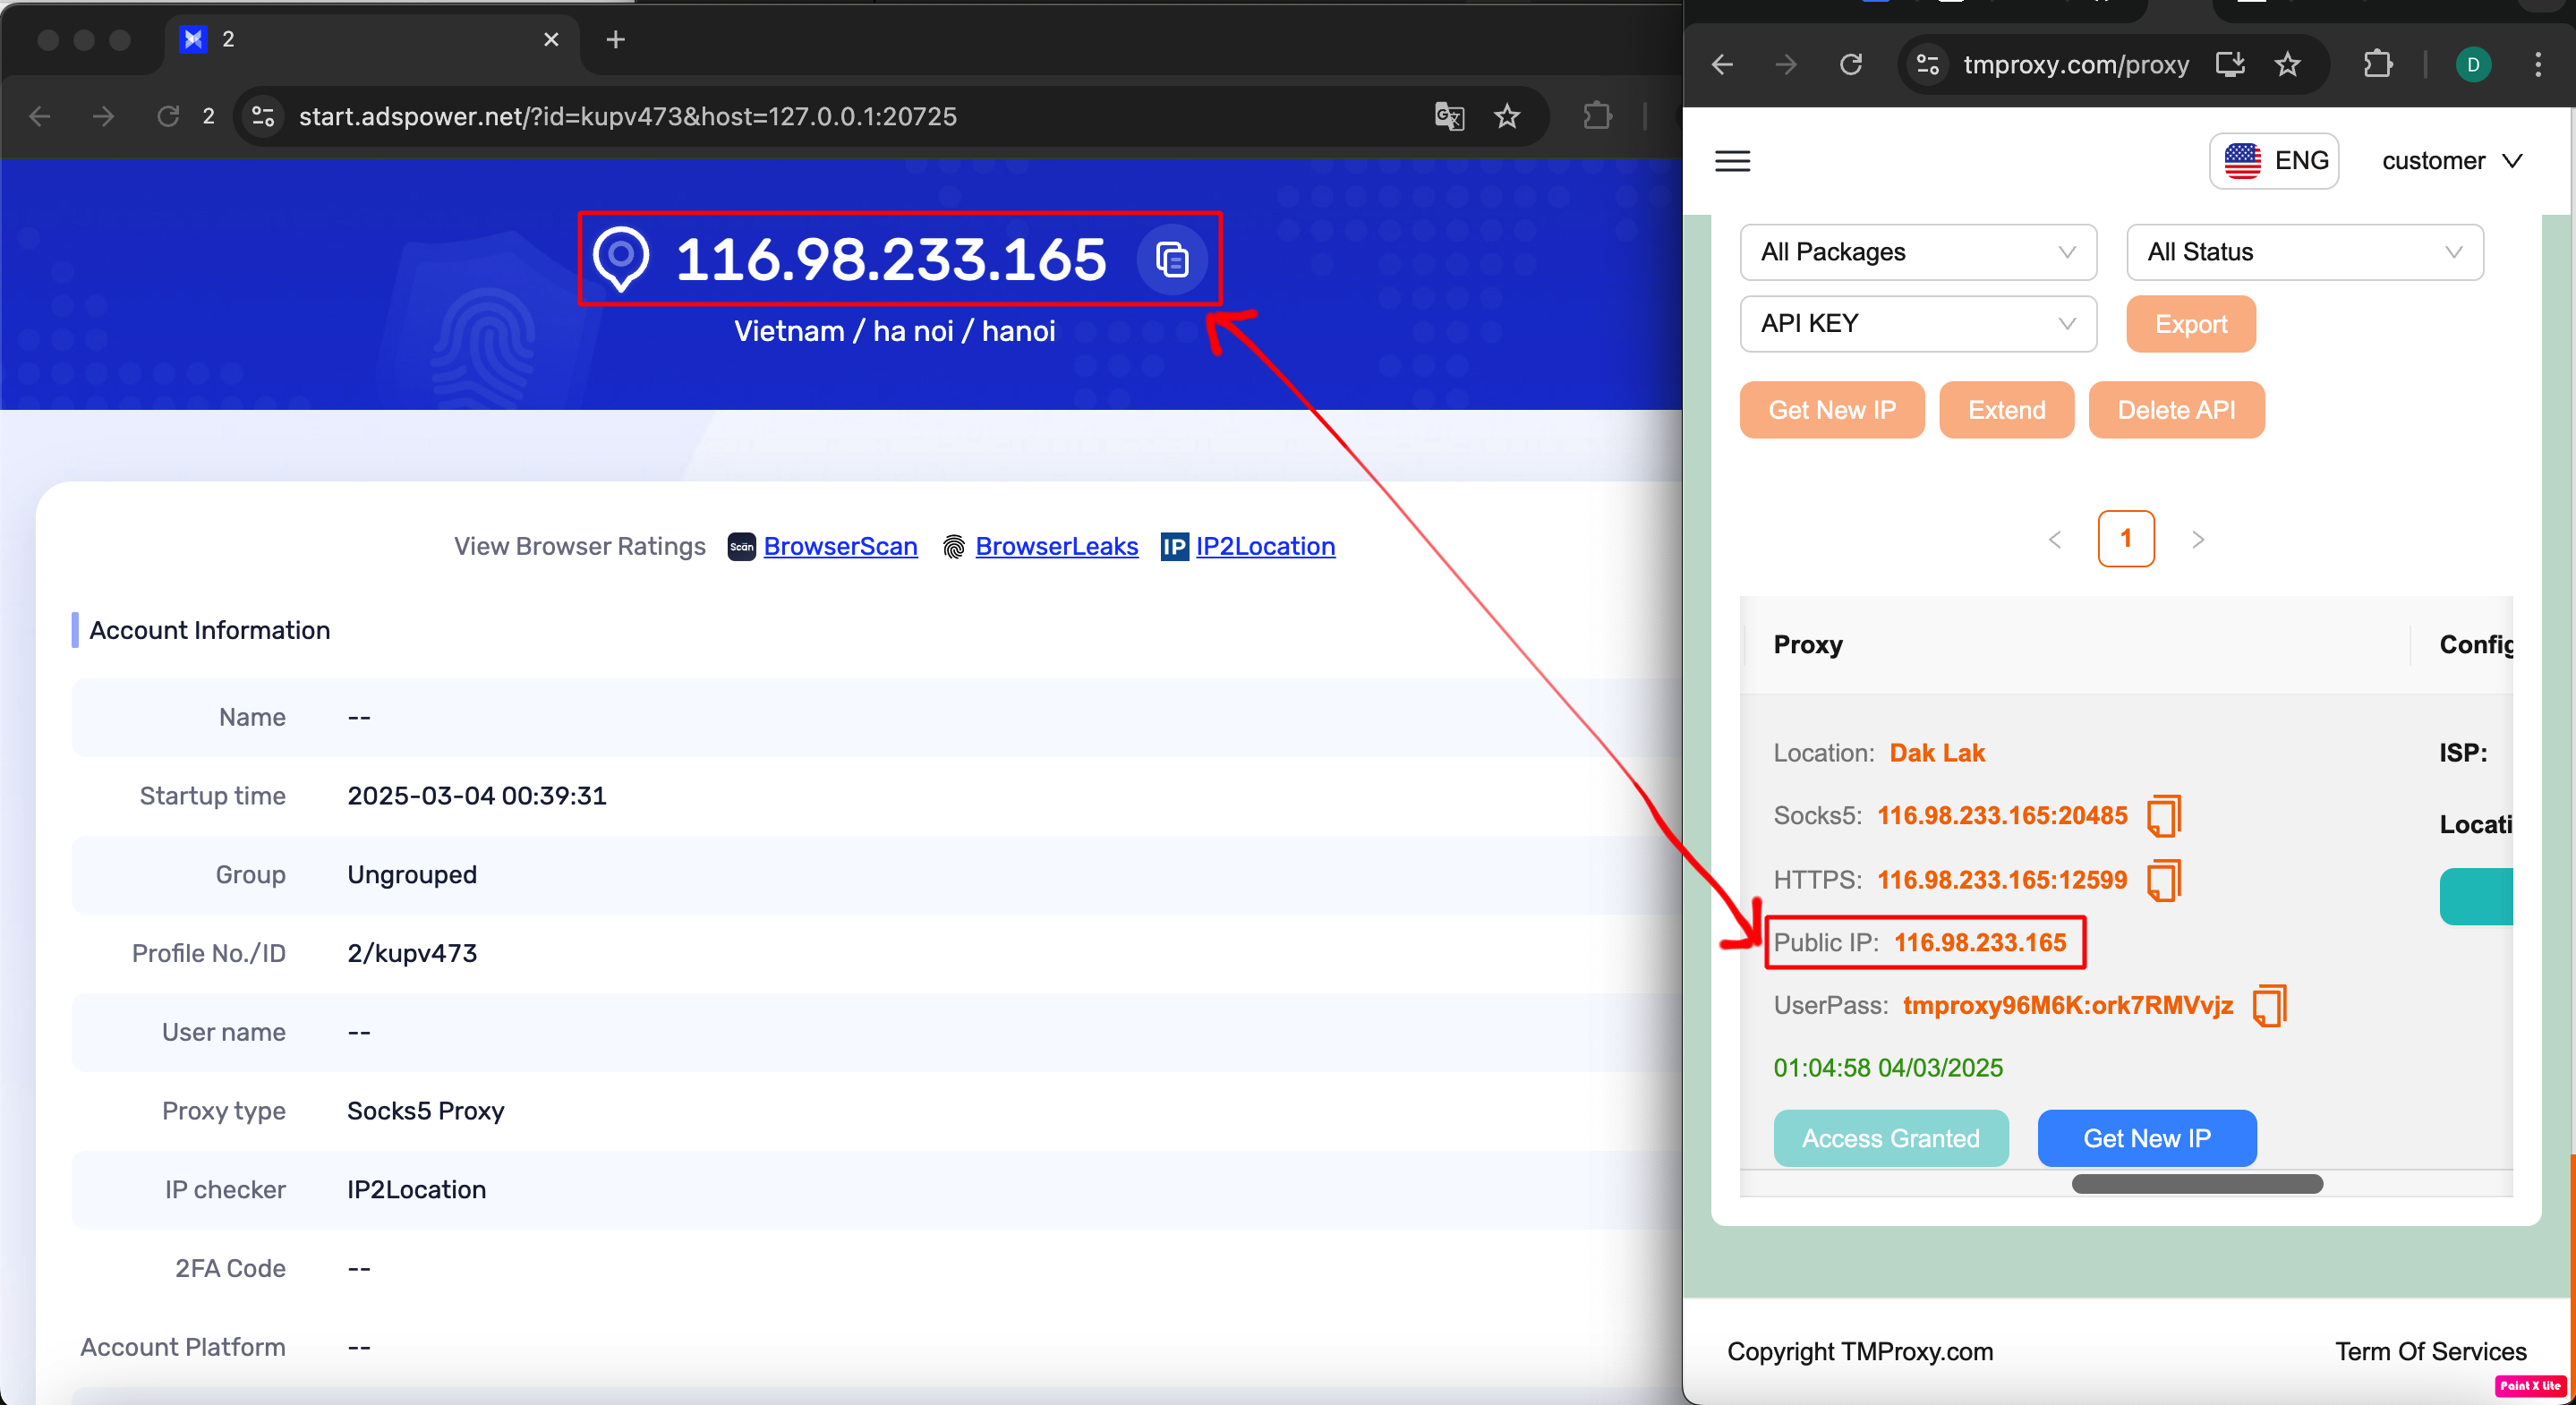
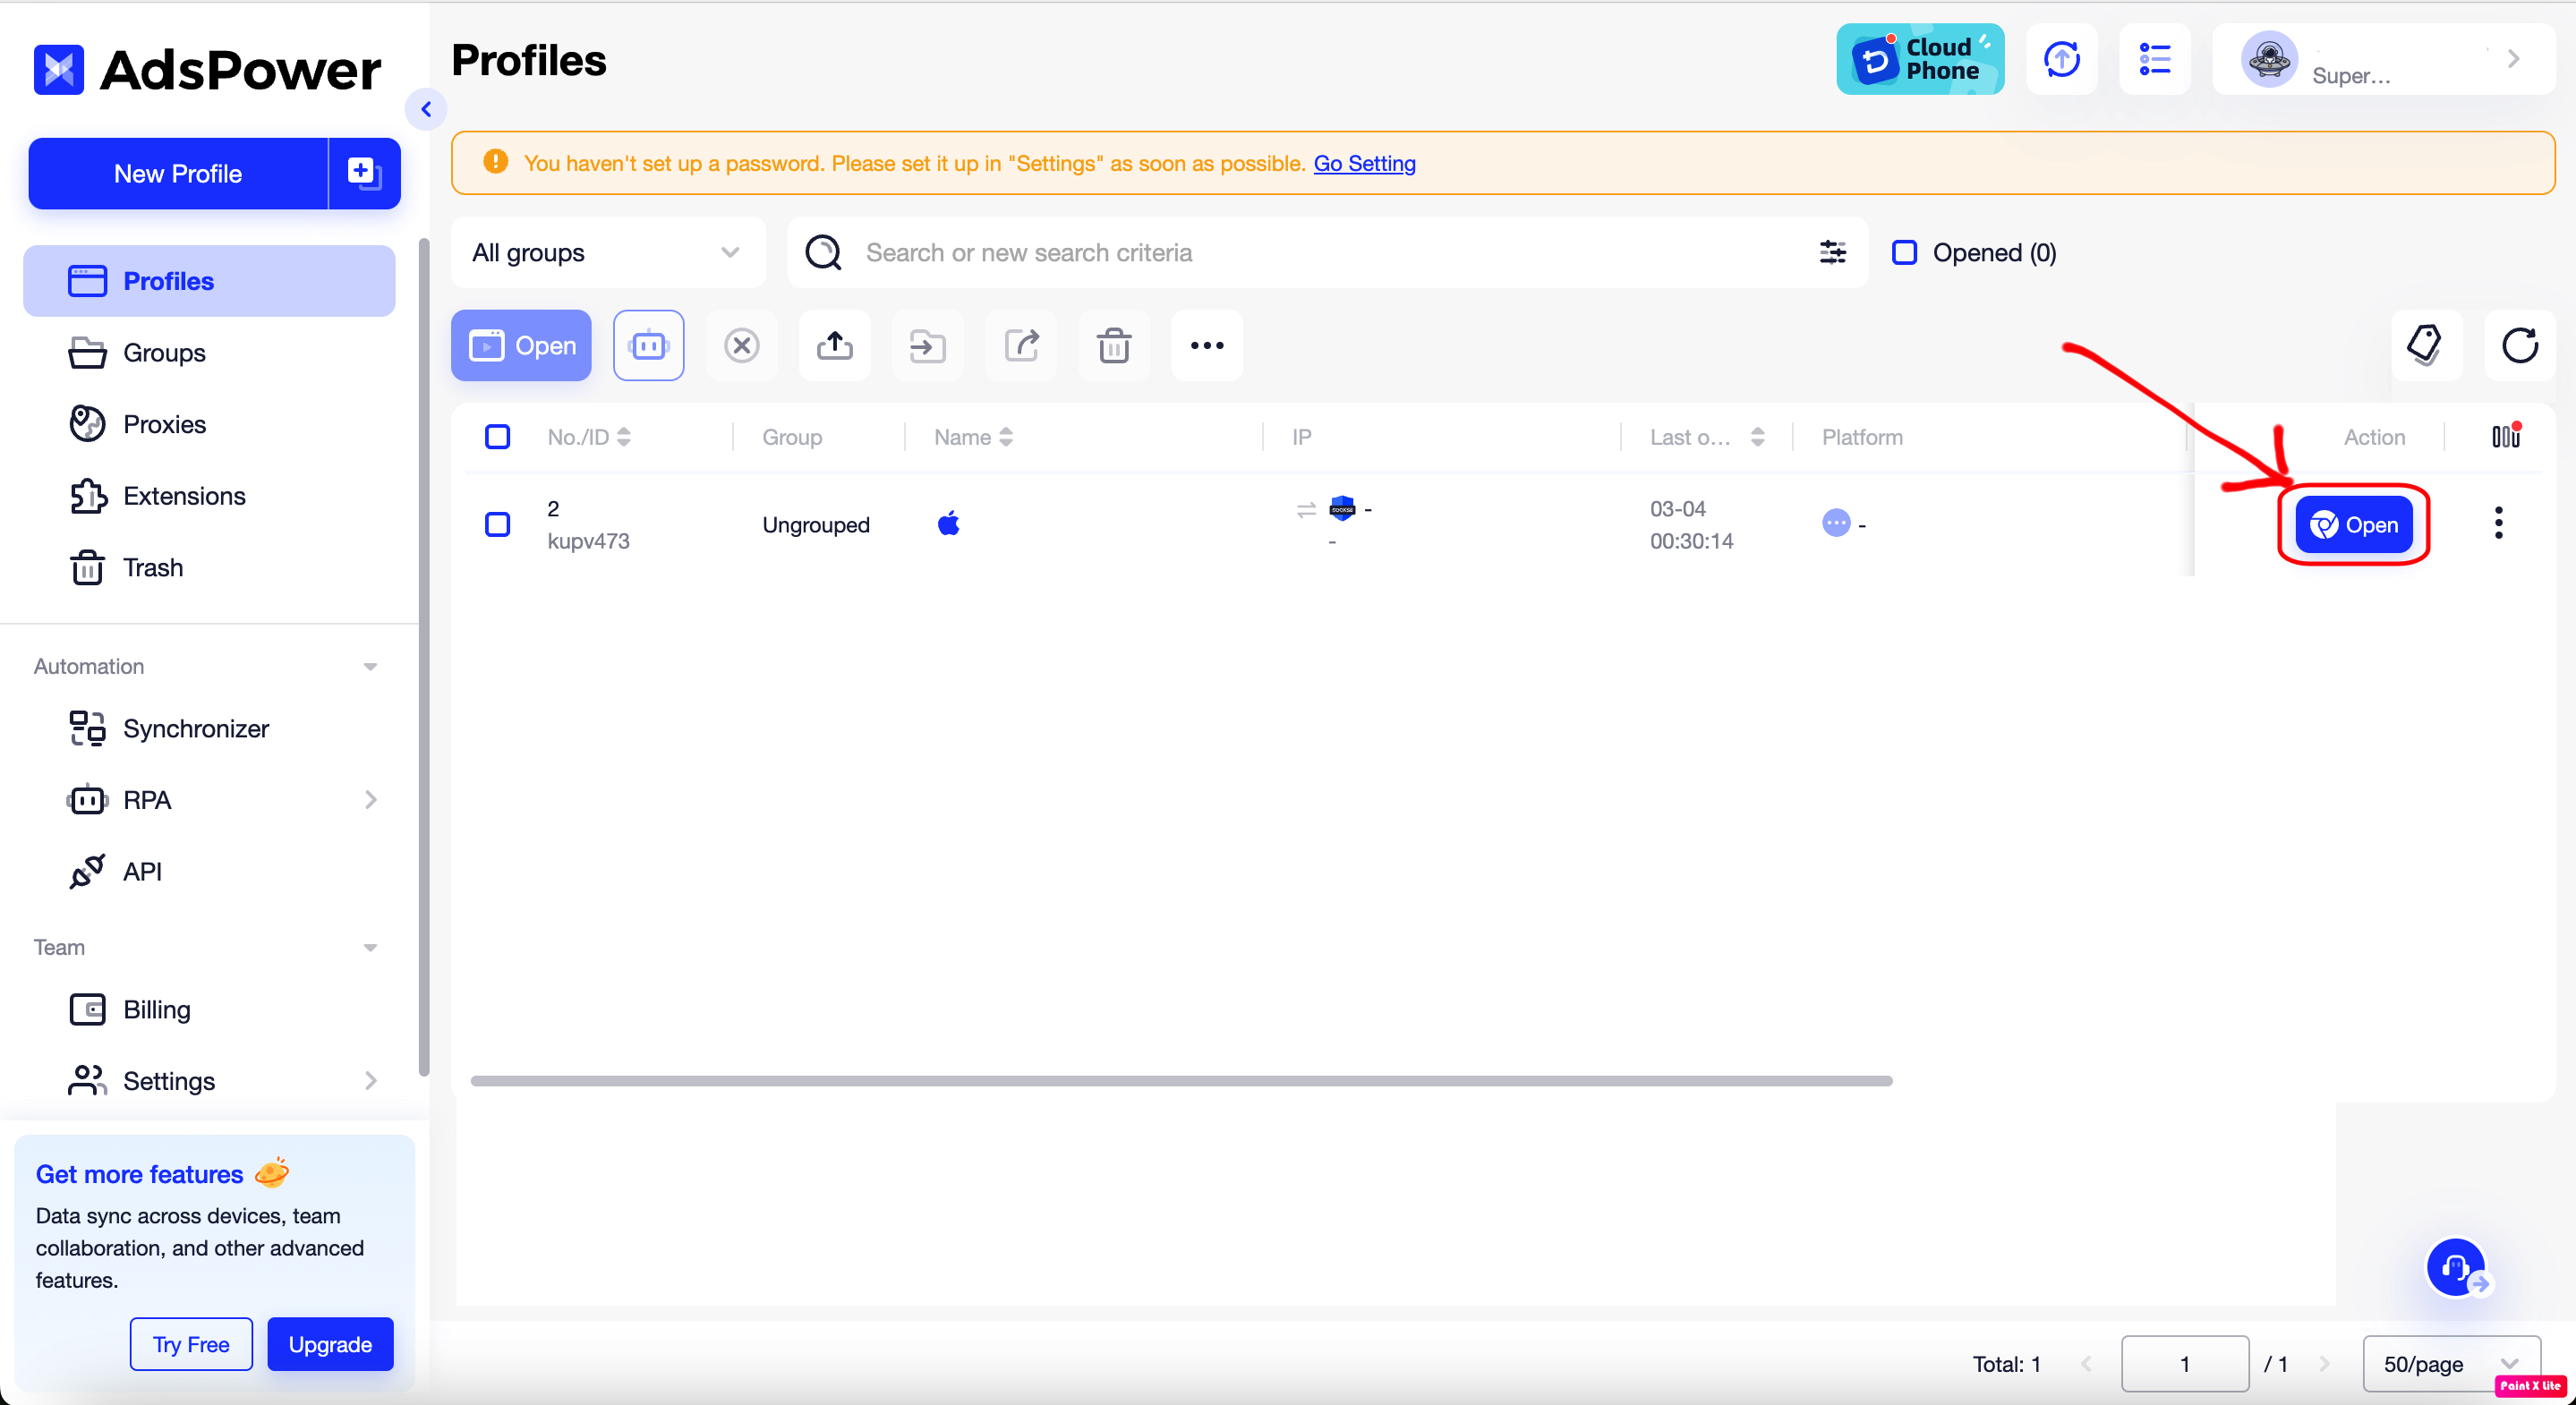 Here is the result. It’s very simple, isn’t it? 😁
This is the article User Guide for TMProxy with AdsPower. It is quite simple, you can experience other functions that we have not implemented. Good luck!
In addition, we have many instructions for using http proxy / socks5 on various software and tools. Please click on the link https://docs.tmproxy.com/guide/
Note!
To use the automatic IP change function. You must set up the configuration on the TMProxy Manager software (click here to download the software). See instructions here
Get started with us at:
- website: https://tmproxy.com/
- Fanpage: https://www.facebook.com/TMProxy